Watercolor Flower Painting Tips || 5 MORE Tips for Success
Have you ever wondered how to get started with watercolor?
After my first Top 5 Watercolor Painting Tips video a few months ago was received so well, I thought it was probably time to share a few more with you! If you haven’t seen my first video, you can find that HERE.
For the sake of ease, I have put together a little video for you as well as a written list down below the video for those of you who still prefer to read (or just can't stand the sound of my "stage voice"—I don't blame you! hah)
Enjoy!
TIP #1: Work in Layers
Specifically for more realistic styles of watercolor painting (but also looser, modern watercolor), taking the time to build up intensity and depth with multiple layers is KEY to creating a strong watercolor painting. Flowers are no different and often require 2-3 passes (fancy word that just means “layers” in the painting world) over the entire piece. Unlike other painting medias, watercolor is tricky in the fact that it dries much lighter than application, so it’s not unusual to leave a painting completely satisfied only to return a few hours later and realize that you need to deepen up the values or fix a color that dried completely different than you expected.
Pro Watercolor Tip: Mix way more paint than you think you’ll need for your project. I’m still surprised by how quickly the paper eats up the pigment and how I need to go back and mix more paint after 1-2 passes!
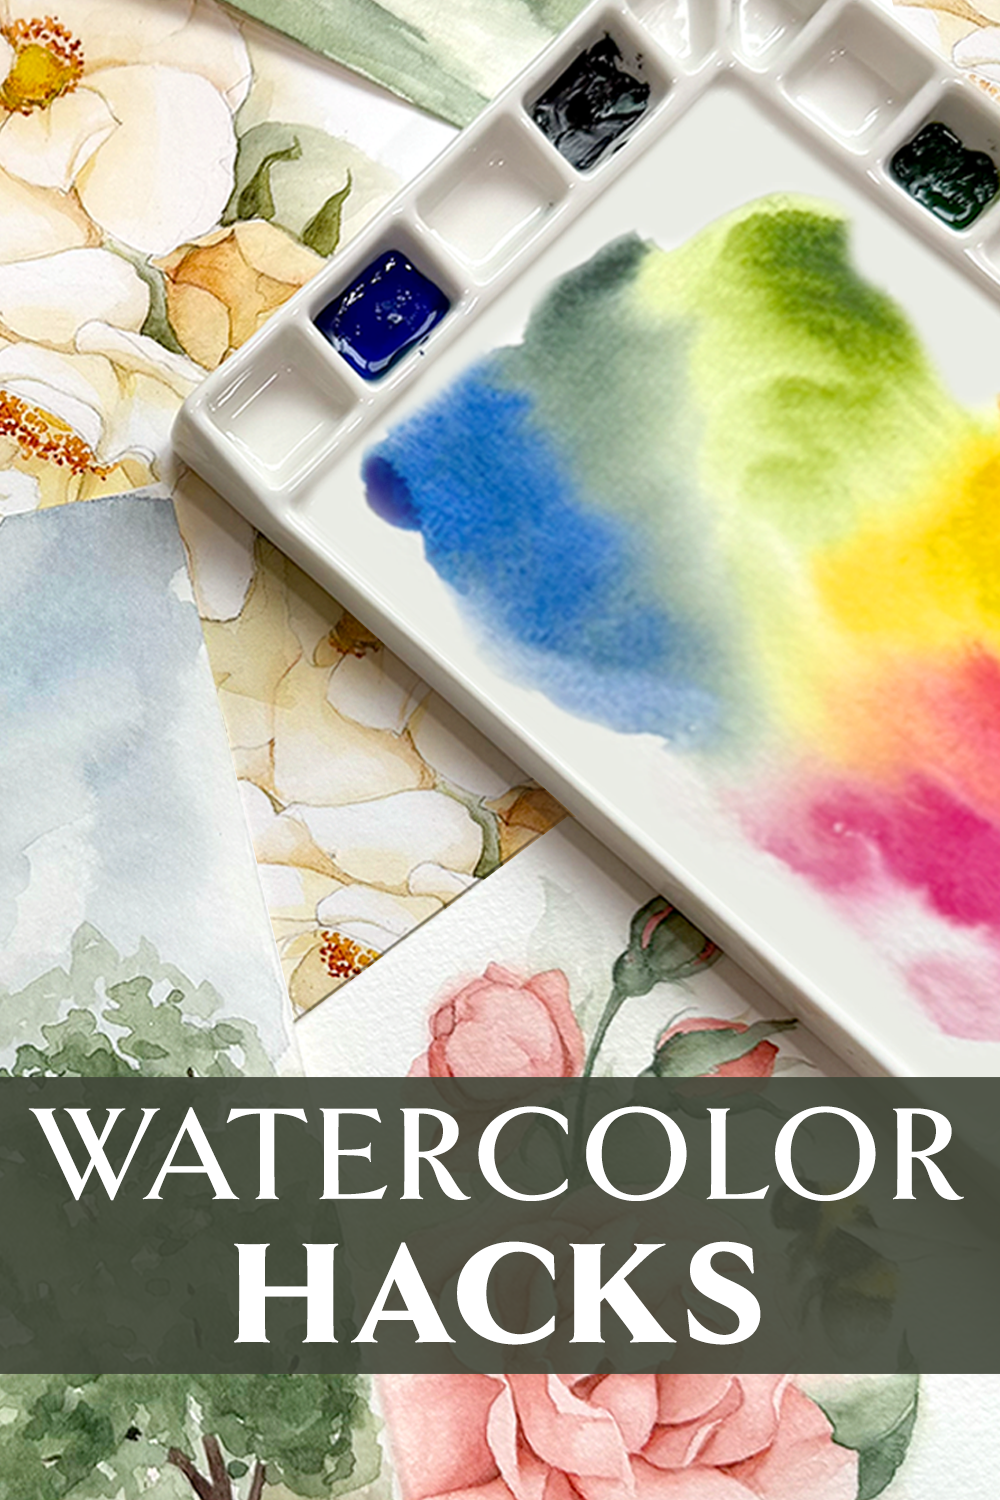
TIP #2: Limited Color Palette
I’ve talked about this in a few of my video tutorials, but I love working with a limited color palette to increase unity and overall harmony and flow in my composition. Now a lot of artists will try to add “rules” to this style of painting by limiting you to a specific number of paints or colors, but I just find that rules like that add pressure and unnecessary, snobbish attitudes that quench the creative process. Have fun with it, and don’t be afraid to drop a color you thought you would use or add one in later.
For a limited color palette with watercolor, I generally identify 5 colors that I know I will be using in the painting that I have in mind, and mix those colors (I rarely use anything straight from the tube, but it happens and there is nothing wrong with that!). Then I repeat those same colors throughout the painting—adding darker or contrasting hues into shadows where that color might not traditionally be placed, and allowing the colors to help lead your eye around the painting. You can also take a more traditional approach to a limited palette and select 3-5 tubes (or pans) of paint to use for your painting. Again, this is entirely up to you—play around with both techniques and explore further with your favorite. I think you’ll like it!
Pro Watercolor Tip: Make sure that the colors that you choose showcase some variety—warm AND cool colors, light and dark values, etc. This will add the visual interest you need to keep a viewers interest while also allowing you to get the range that you are after in your painting.
TIP #3: Experiment
Watercolor is not for the faint of heart. One mistake that I made a ton when I first started out is not experimenting enough. Beyond simply warming up, I wish I had bought a few different types of watercolor paper and gave myself the freedom to just experiment. There’s a lot to watercolor painting that is learned through experience rather than instruction. The amount of water that you use will very based on style, paper type and even personal preference. Use both sides and put ZERO pressure on these pieces. Assume that you just “threw that money away” in the name of art. You’ll leave that season so energized and ready to start something creating something more finished.
I took the time to do this shortly after my son turned a year old and I was able to work more consistently. I was shocked with the growth that I experienced and how quickly I developed a style that I love. Don’t wait like I did! Have fun and dedicate that time and energy to learn on your feet without the pressure of a job or ruining paper. Paper is cheap, stress is not! haha
Pro Watercolor Tip: As I mentioned in my last watercolor tips post, I think it’s super important to work off of REAL objects when you are in this experimental stage (and even beyond!). Don’t copy the work of other artists or you’ll struggle to find your own style.
TIP #4: Work Light to Dark
Unlike other forms of painting, watercolor painting requires extra care when you start to add rich pigments because you can’t layer another color over it to lighten the overall appearance. Thus, you really need to think ahead and have a plan. I recommend working with a light wash over your painting first, not only to help with the planning process, but to help you to establish the lighter and darker values before you commit beyond what can be fixed. Remember, you can always add more paint, but it’s pretty hard to fix a watercolor painting with too much pigment on it!
Pro Watercolor Tip: I recommend “blotting” your brush off on a paper towel or rag (I use an old washcloth that I don’t care about) before applying brush to paper. This will help to remove excess water so that you avoid applying too much to the paper, and will even help to reduce the pigment a little so that you are able to have a little more control.
TIP #5: Take a Break
I mentioned something similar in my last round up of watercolor tips, but rather than trying to avoid overworking, I want you to plan ahead and assume that you will need to touch up your watercolor flowers after you “finish” them. When I work with clients, I always schedule in an overnight break from the painting before I take pictures or send it to the client.
There are two very important reasons for this: the first being that I want to come back to the painting with fresh eyes. I often notice something in the flow of the painting or the color palette that needs attention before I can send it to my client. The second reason calls us back to tip #1 of this post: watercolor paint dries very differently than it is applied. I almost always have to deepen my shadows and re-emphasize elements that faded as the paint dried.
Pro Watercolor Tip: If you’re having trouble seeing what is “wrong” with your painting, but you can sense that something is “off”, try holding your painting up to a mirror after it’s dried! The inverted image will highlight anything amiss with the painting and you’ll be able to see what you need to fix right away!
__
My favorite watercolor supplies:
Pinterest Board: https://www.pinterest.com/blusheddesigns/botanicals/
Strathmore 300 Series Watercolor Paper: https://amzn.to/2JZ7jmN
Winsor and Newton Starter Kit: https://amzn.to/2OlEKmD
Paint Brushes: https://amzn.to/2AdmzNb
FULL LIST OF MY FAVORITE SUPPLIES