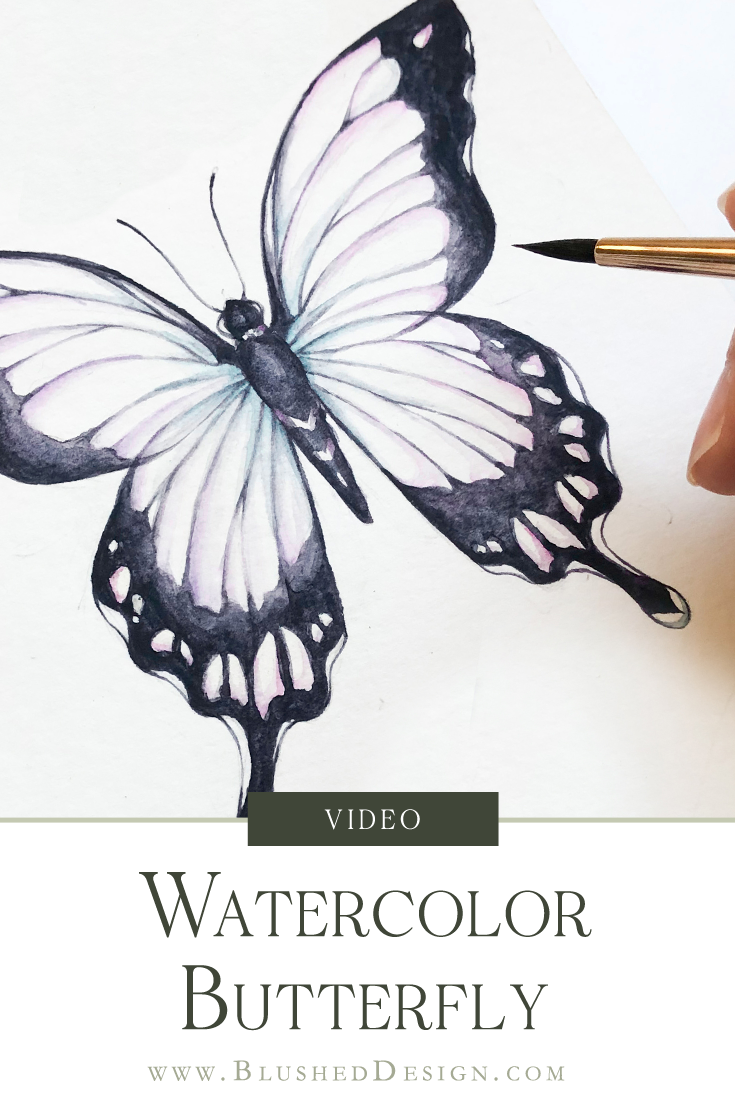
Step-by-Step Watercolor Butterfly Tutorial
This step by step watercolor butterfly tutorial features a different approach than my usual realistic butterflies! I decided to play a little more with “unrealistic” color choices that play with the overall effect without going too crazy. I can’t wait to share this fun tutorial with you! I think you’ll love the effect!
Don’t have time to finish this post? Pin one of these for later!
Any opportunity to add to our watercolor butterfly series is a good reason to pick up my watercolor brushes! I also had a new watercolor kit that I was dying to play with (linked below), so I decided to explore a less realistic color palette (though it’s not in my nature to go too crazy! I mean… I just can’t! haha) and go for a little more playful look overall that allowed me to incorporate some unrealistic pops of color.
Supplies:*
Watercolor Butterfly Playlist
Paper: https://amzn.to/2VabxAX
Watercolor Brushes (Round, size 4 & 6): https://amzn.to/2vFKbID
Daniel Smith Watercolor Palette: https://amzn.to/33Bg2H6
Cascade Green: https://amzn.to/2wEwxWL
Undersea Green: https://amzn.to/2Xsz1me
Green Apatite Genuine: https://amzn.to/3aYBmJm
Nickel Azo Yellow: https://amzn.to/3bc0EEd
Aussie Red Gold: https://amzn.to/3a2HeQu
Opera Pink: https://amzn.to/3e71jIR
Quinacridone Magenta: https://amzn.to/2UZ6a7n
Imperial Purple: https://amzn.to/3ebin0j
Moonglow: https://amzn.to/3b0yk7x
Lunar Blue: https://amzn.to/39iQnnH
*As an Amazon associate, I receive a small commission on some of the links above if you make a purchase—at no extra cost to you! Read my full disclosure here


